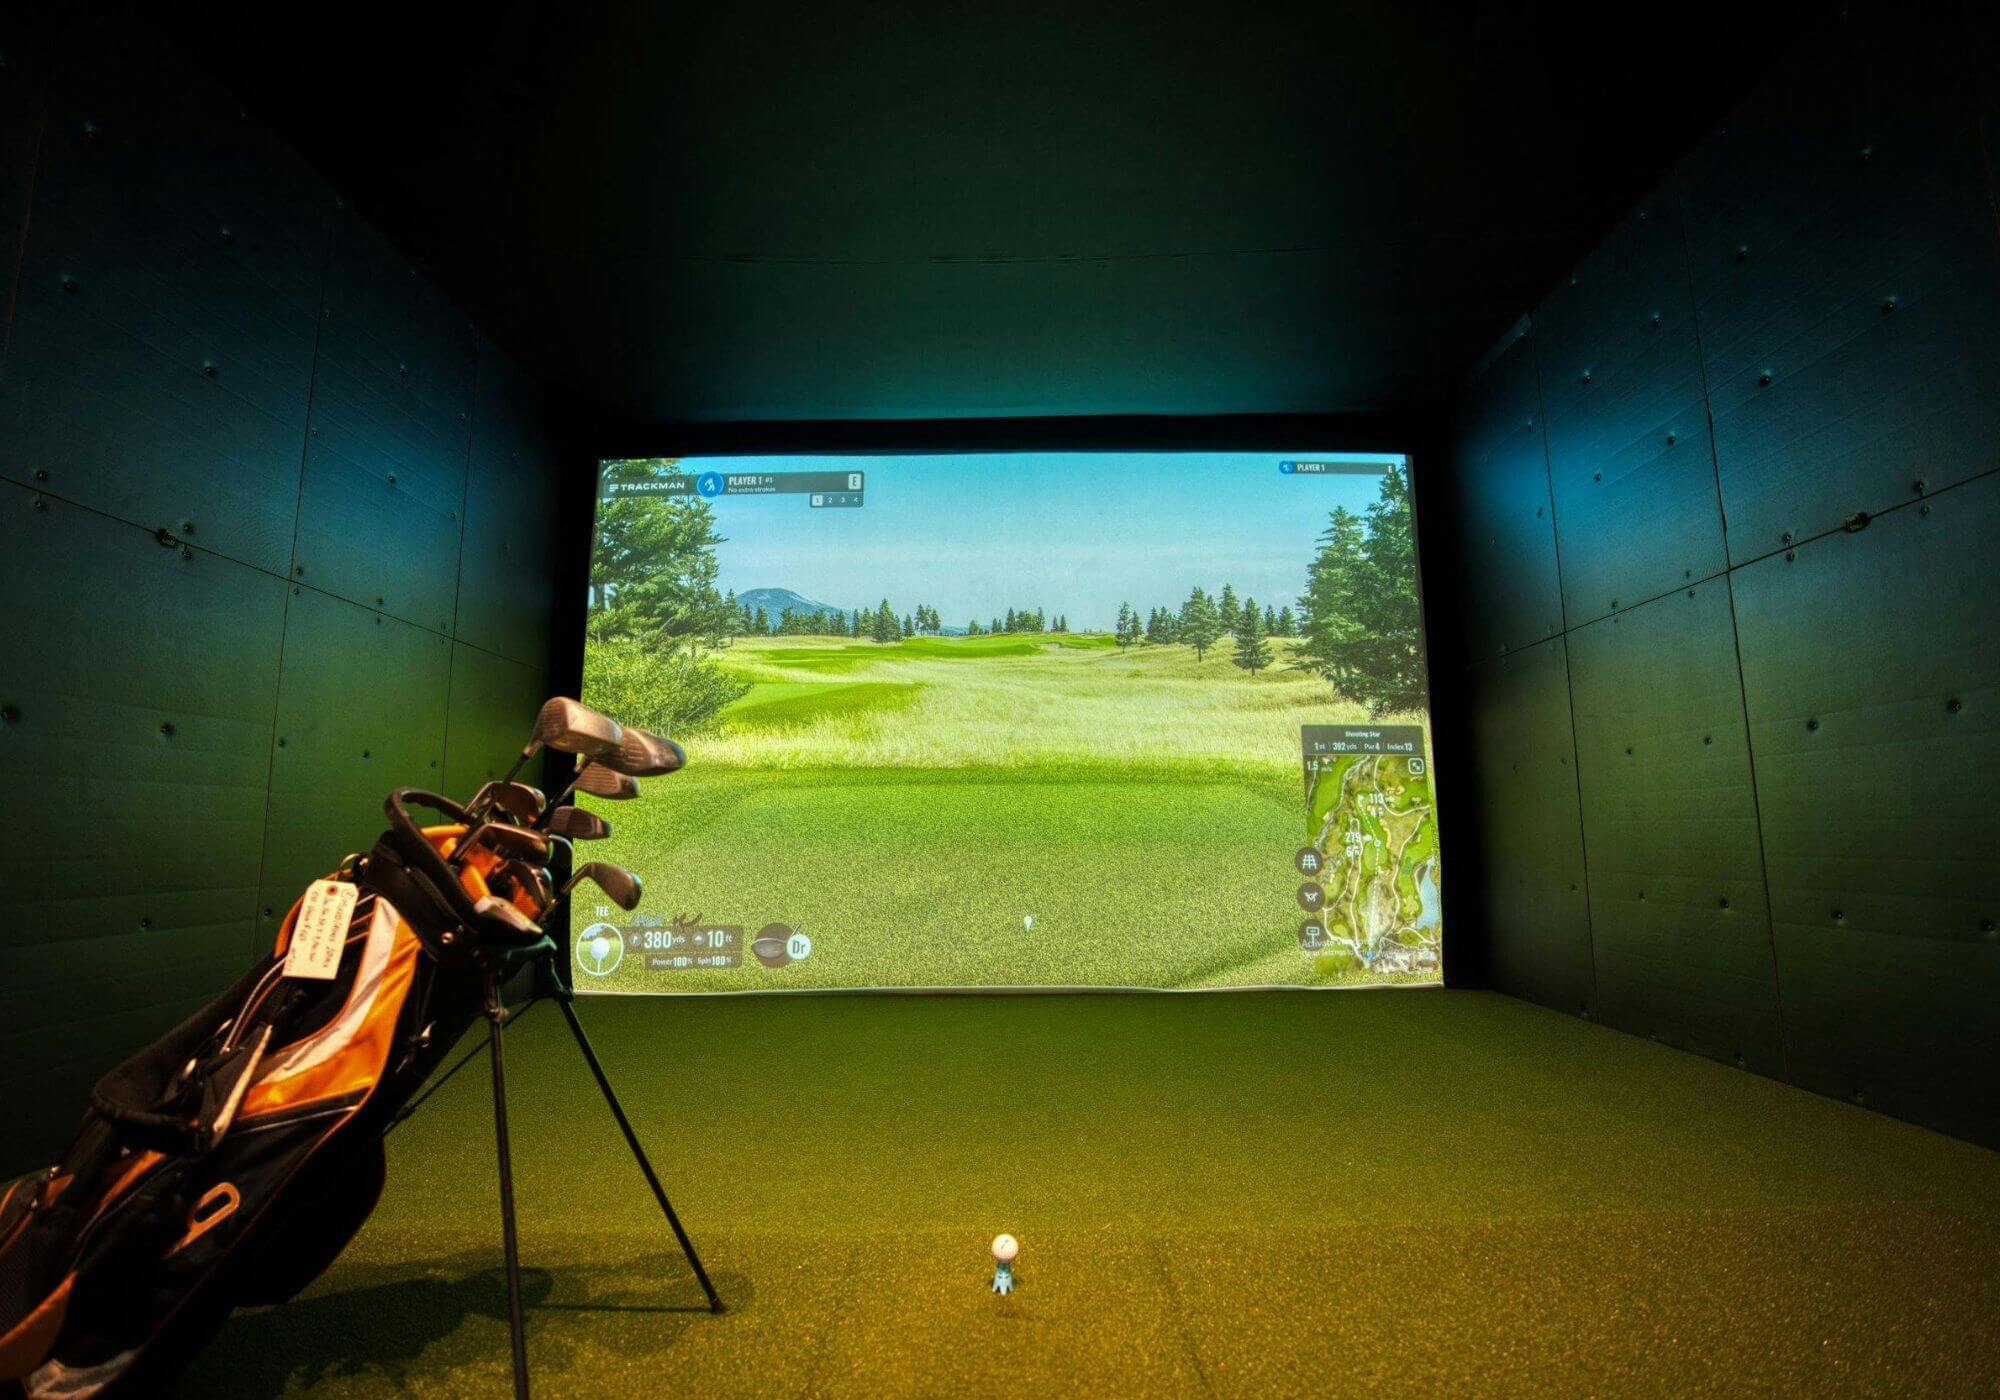
We all know the classic mistakes when building a golf simulator: buying the wrong launch monitor, skipping on a quality screen, choosing the wrong software. But the most common issues go beyond the equipment itself; they come from how the space is built.
Unfortunately, even the best gear won’t fix mistakes made during setup.
Here are five mistakes that can ruin your indoor golf experience before you take your first swing.
1. Underestimating the room (and why it messes with your swing)
This is the biggest mistake people make. You measure your garage or spare room and think, “That should fit,” and start ordering gear. But once everything is set up, you realize there’s no room to swing freely.
Low ceilings and tight walls change your swing. When I was a kid, I managed to fit a net into my parents’ garage for winter practice but I had only about an inch of clearance. While I had a way to practise all winter, it did cause some issues in my swing.
In this scenario, most players start steering the club, holding off their follow-through or cutting their swing short to avoid hitting something. Over time, that builds bad habits that carry onto the course.
Before you go any further, stand in your planned space and take a few slow swings with a driver. If you feel the need to steer, it’s too tight.
Recommended dimensions
| Area | Minimum | Ideal | Why It Matters |
|---|---|---|---|
| Ceiling Height | 9 feet | 10–11 feet | Prevents tension and swing restriction |
| Room Depth (tee to wall) | 12–14 feet | 16–18 feet | Allows full ball flight and safe monitor placement |
| Room Width | 10 feet | 14–15 feet | Provides clearance for natural movement and both-handed play |
2. Not understanding how bounce-back works
Bounce-back is one of the least-discussed but most frustrating simulator issues. When the ball rebounds off the screen, it’s not only unsafe, but it also changes how you swing.
The cause usually comes down to tension, spacing and surface hardness. A screen mounted flush to the wall with no room behind it acts like a trampoline. Pair that with high ball speed and you might end up dodging your own shots.
Tips
- Keep 12 to 18 inches between the screen and the wall behind.
- Use bungee cords or straps to mount the screen instead of rigid fasteners.
- If possible, stand 10 to 12 feet from the screen when hitting full shots.
- Add a net or soft padding behind the screen to absorb impact energy.
A properly tuned screen should absorb the shot, not send it back at you. If your first few balls are rebounding toward you, loosen the screen or create more buffer space before you build bad habits or damage something (or someone).

3. Ignoring lighting and visibility
Lighting can make or break your simulator experience. Even the best projector and screen won’t perform if your room is flooded with glare or bright overhead light.
Direct light on the screen washes out the image while uncovered windows create constant contrast changes. You’ll find yourself squinting or waiting for the picture to “settle” which distracts you from focusing on your shot.
Tips
- Avoid ceiling lights aimed at the screen; position fixtures behind or above you.
- Use blackout curtains if your room has windows.
- Paint nearby walls with darker, matte colors to reduce glare.
- Match your projector’s brightness to the lighting conditions but remember that no projector can overcome bad lighting.
When the lighting is right, you’ll see clean ball flight and accurate visuals.
4. Skimping on the hitting mat
This one’s easy to overlook. You’ve already spent big on the monitor and screen so you grab the cheapest mat you can find. Lower-quality mats can cause wrist, elbow and shoulder pain over time.
Cheap turf over hard concrete doesn’t absorb shock and repeated impact can lead to injuries like golfer’s elbow or wrist strain.
Tips
- Look for mats with multi-layer construction or replaceable hitting strips.
- Mats like SIGPRO Softy are designed to simulate real turf and protect joints.
- If you’re installing on concrete, add a rubber underlayment for extra shock absorption.

5. Poor cable and power planning
No one thinks about wiring until it’s too late. Then the projector cord hangs from the ceiling, HDMI cables stretch across the floor and the whole setup feels cheap and thrown together.
When outlets aren’t where they need to be, you end up with extension cords, overheating devices or even tripping hazards around the hitting area.
Tips
- Plan for dedicated outlets near both the projector and the hitting zone.
- Run cables through ceiling raceways or conduit instead of letting them hang.
- Keep your PC or gaming console well ventilated to avoid overheating.
- Label and secure every cord to keep the hitting area clear and safe.
- Use a surge protector or UPS if you’re running a PC-based sim.
Final thoughts
Building an indoor golf setup is exciting but it’s easy to rush through the planning. Take the time to get your space, screen, lighting, mat and power right, and you’ll end up with a simulator that feels like a purpose-built studio.
The post 5 Mistakes People Make When Setting Up Their Indoor Golf Space appeared first on MyGolfSpy.
Article Link: https://mygolfspy.com/news-opinion/5-mistakes-people-make-when-setting-up-their-indoor-golf-space/
